 Editorify
How to install and activate the Editorify plugin
On this page
To use Editorify on WooCommerce, install the Editorify plugin in your WordPress admin, activate it, open the Editorify dashboard and connect your store. Your site needs WooCommerce installed and active, an SSL certificate (https) and "Post name" permalinks. Once connected, reviews appear on your product pages automatically.
Requirements
The WooCommerce plugin is installed and activated on your WordPress site. See Installing WooCommerce.
Your site has an SSL certificate (its address starts with https). If it does not, free WordPress plugins such as WP Encryption or SSL Zen can install one.
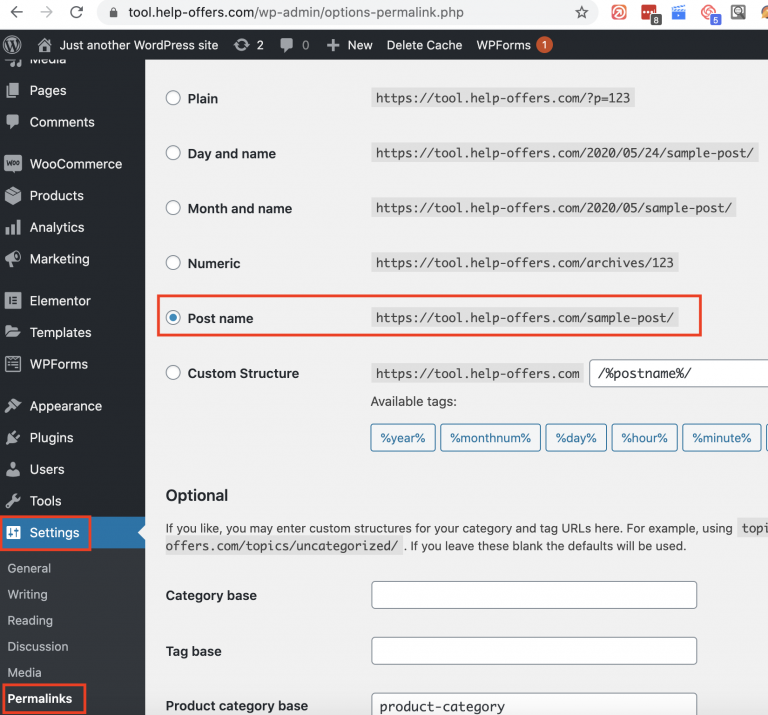
Permalinks are set to "Post name": in WordPress go to Settings, then Permalinks, choose "Post name" and save. See Permalink settings for Editorify.
Step 1: install the plugin
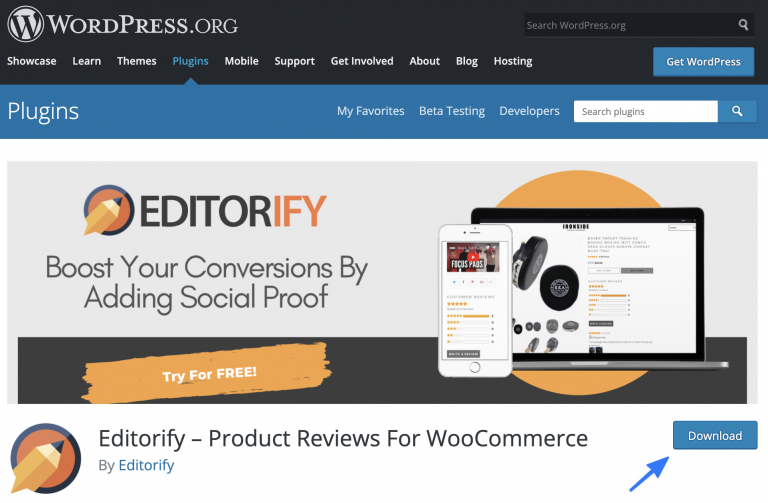
From the WordPress plugin directory
Log in to your WordPress admin dashboard.
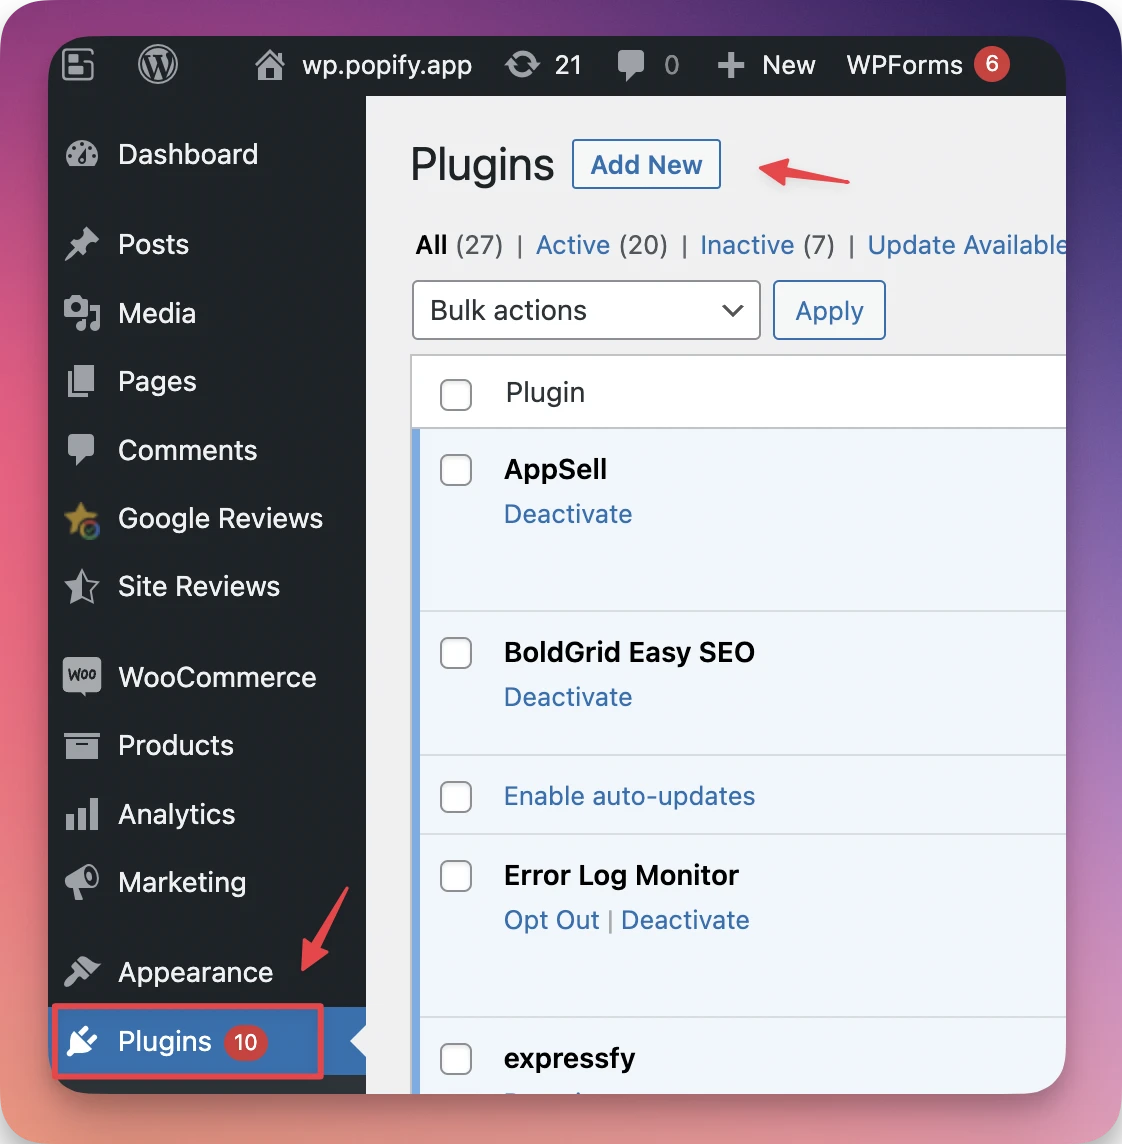
Click "Plugins" in the side menu, then "Add New".
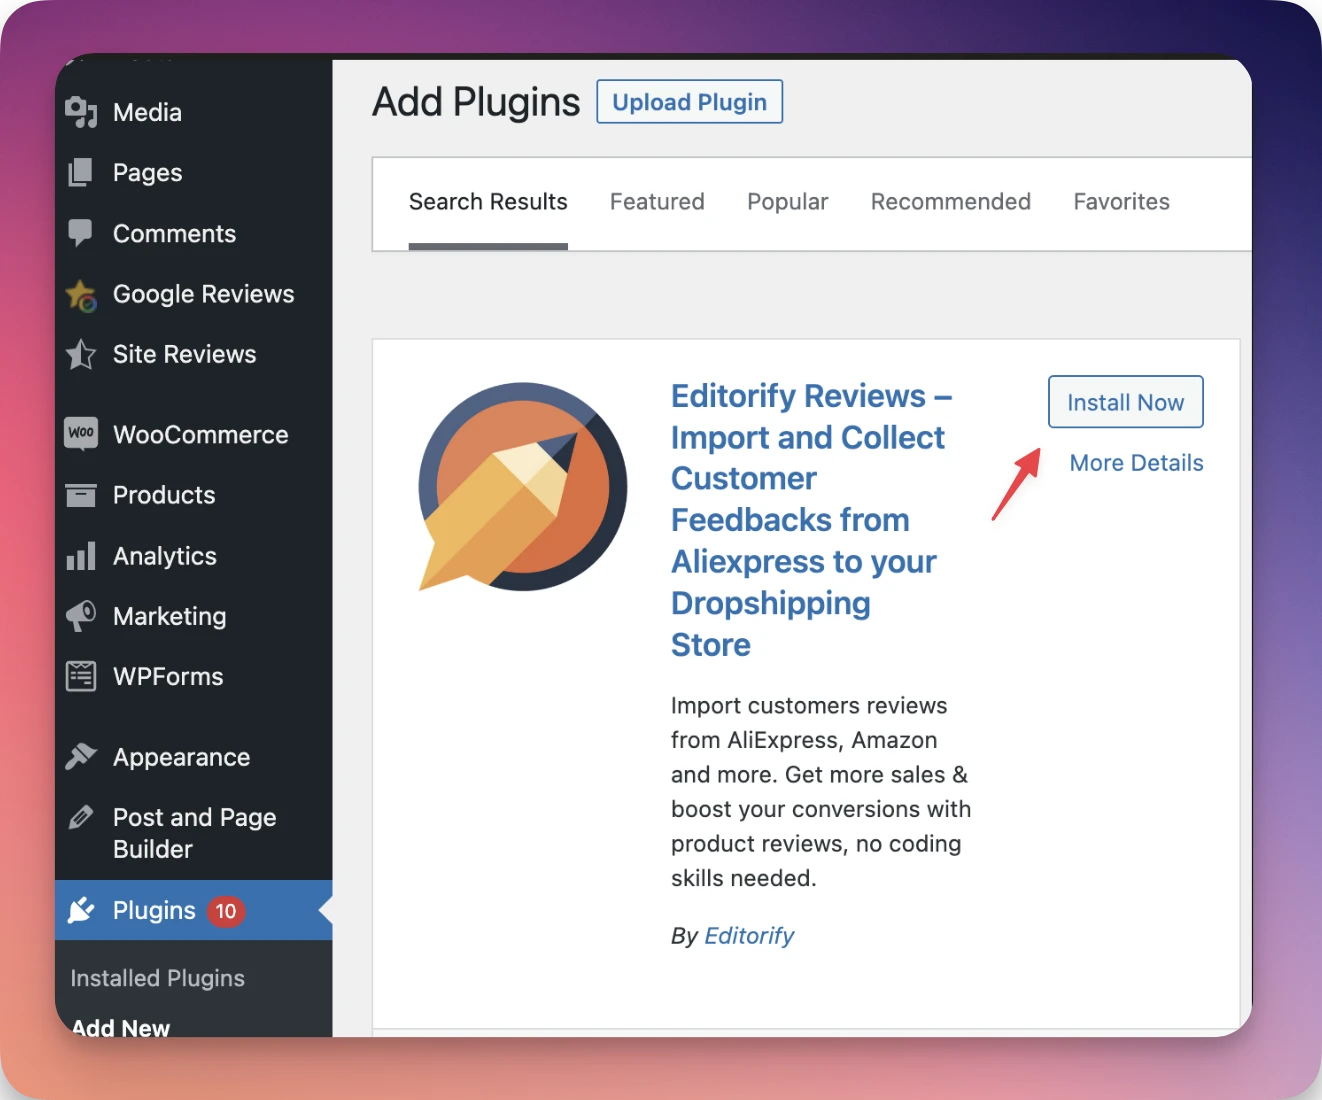
Search for "Editorify" and click "Install Now".
Or upload the plugin file
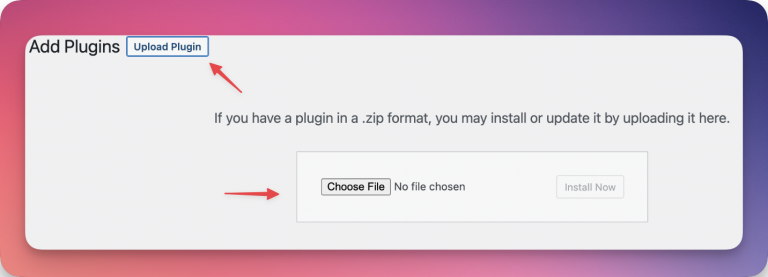
In WordPress, click "Plugins", then "Add New Plugin", and upload the file.
Step 2: activate the plugin and open the dashboard
Activate the plugin.
Click Editorify in the WordPress side menu, then click "Go to dashboard".
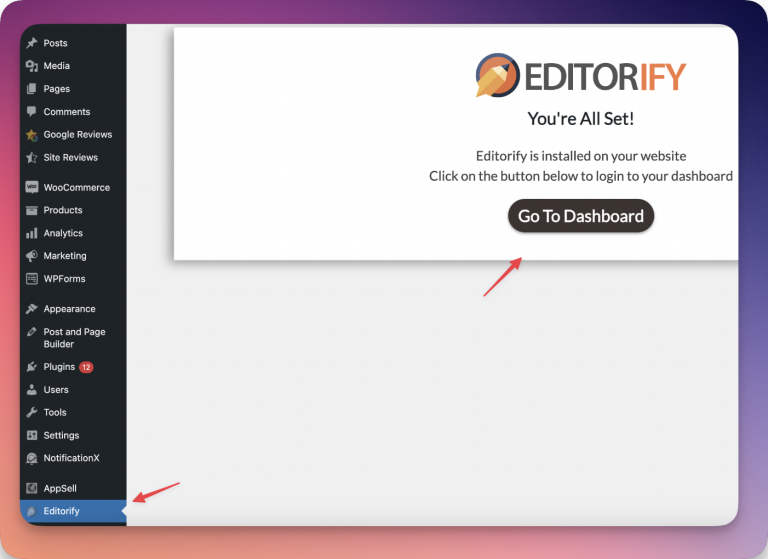
If you do not have an account yet, register for Editorify for WooCommerce.
Step 3: connect your store
In the Editorify dashboard, open "Api setting" from the side menu and check whether your store shows as connected.
If it is not connected, type your website address and click "Connect my store".
Type the address exactly as your site uses it. Some sites use "www" and some do not; a mismatch stops the connection.
Editorify then adds itself to your published theme. If the reviews widget does not show on a product page, clear your browser cookies and cache and reload the page.
Step 4: turn on the reviews on your WordPress website
Sign up to Editorify and choose a plan.
Make sure the Editorify plugin is installed and activated (steps 1 and 2 above).
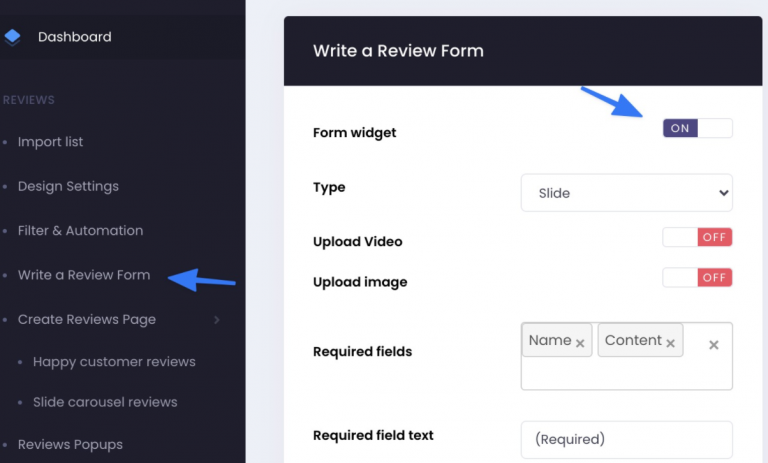
In the Editorify dashboard, select "Write a review form" and turn on the form widget.
To check reviews before they go live, see How to collect reviews from my customers.
If the store does not connect
Add the Editorify server IP 198.199.86.121 to the allow list of Wordfence or any other firewall or security plugin.
If your site is behind Cloudflare, see How to fix connection issues caused by Cloudflare.
Use the latest PHP version your host offers, and update WooCommerce to its latest version.
Work through the WooCommerce store connection troubleshooting guide.
Still stuck? Email support@editorify.com or use the contact form.
Next steps
FAQ
Does Editorify work without SSL?
No. Your WooCommerce site must use https to connect to Editorify.
Where do I cancel the WooCommerce subscription?
In the Editorify dashboard, under Settings. See How do I cancel my subscription?
Still stuck? Contact support or email support@editorify.com.